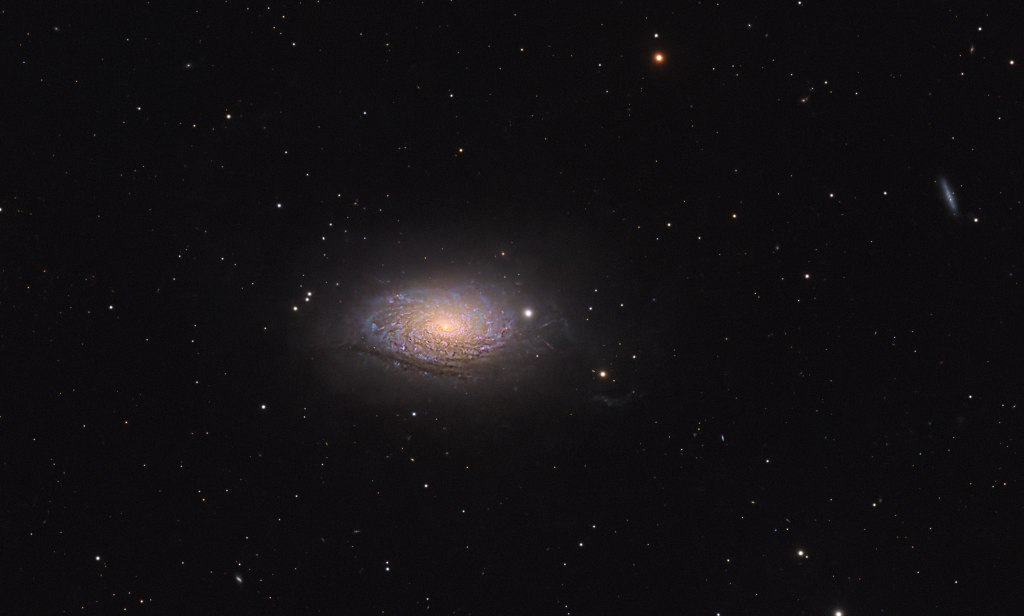
This year I’ve really leaned into “galaxy season,” and in the process I’ve rethought my entire approach to processing OSC galaxy data. I found myself moving away from some of the more elaborate workflows and toward something simpler, more deliberate, and ultimately more effective. This approach strips some of unnecessary complexity from my previous process while still delivering strong results, and I think it aligns more closely with the PixInsight developers’ philosophy of preserving scientific accuracy throughout the processing pipeline.
Workflow
- Stacking
- Flux Calibration
- Multiscale Gradient Removal (MSGR)
- SPCC (Spectrophotometric Color Calibration)
- Deconvolution (BlurXTerminator)
- Noise Reduction
- Star Removal
- Multiscale Adaptive Stretch (MAS)
- Curves
- MultiscaleMedianTransform (MMT)
- Further Noise Reduction
- Star Stretch
- Dark Structure Enhance (Optional)
- Recombination
- TGVDenoise
- References
Stacking
I do a basic Weighted Batch Preprocessing (WBPP) run with lights, flats, darks, and bias frames. The only default I typically change is the drizzle configuration, and I generally use a drizzle scale of 1. The PixInsight developers have been fairly consistent in recommending drizzle, especially with OSC data. https://pixinsight.com/forum/index.php?threads/drizzle-all-the-time.21543/
After stacking is complete, it is useful to apply an unlinked channel auto stretch to better visualize the processing steps as you proceed. You can do this by opening Screen Transfer Function, making sure the chain-link icon is unchecked, and then clicking the Auto Stretch button (the nuclear icon).
Flux Calibration
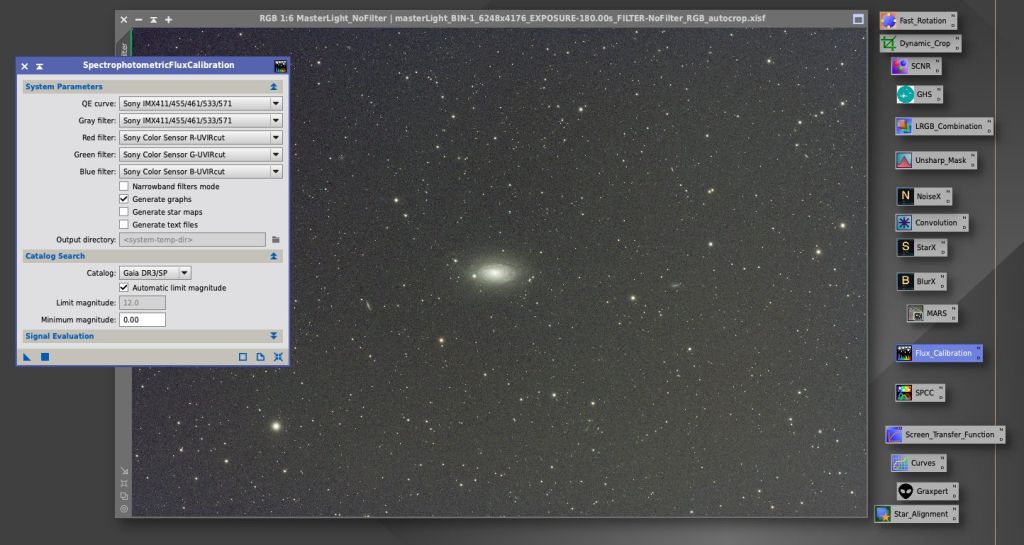
I perform flux calibration before Multiscale Gradient Removal. This is a mandatory step to normalize the data sets up the image for more reliable background and color correction. In practice, I usually just select the correct sensor and filters and leave the remaining settings at their defaults.
Multiscale Gradient Removal (MSGR)
I really want to hype this tool, because when it works well it does a fantastic job of removing complicated gradients from the image. I typically leave all the defaults alone except for the scale, and for galaxies I find that a smaller scale than the default usually works well. That tends to remove the gradient effectively without damaging the structure of the target. I usually stretch and examine the extracted background, and when I find a setting that pulls out a clean gradient without affecting the object of interest, I leave it there. It’s pretty easy to experiment at this stage until you are happy with the result, just undo, tweak the settings, and apply the tool again.
Unfortunately, the reference data for this tool has not been fully built out yet. If there isn’t data available for a particular target, I usually turn to GraXpert as an alternative.
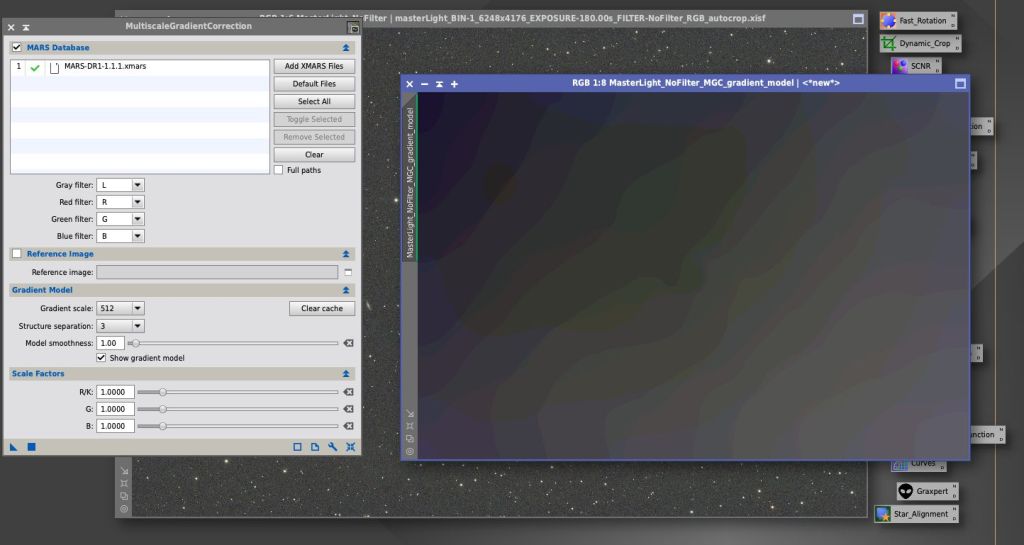
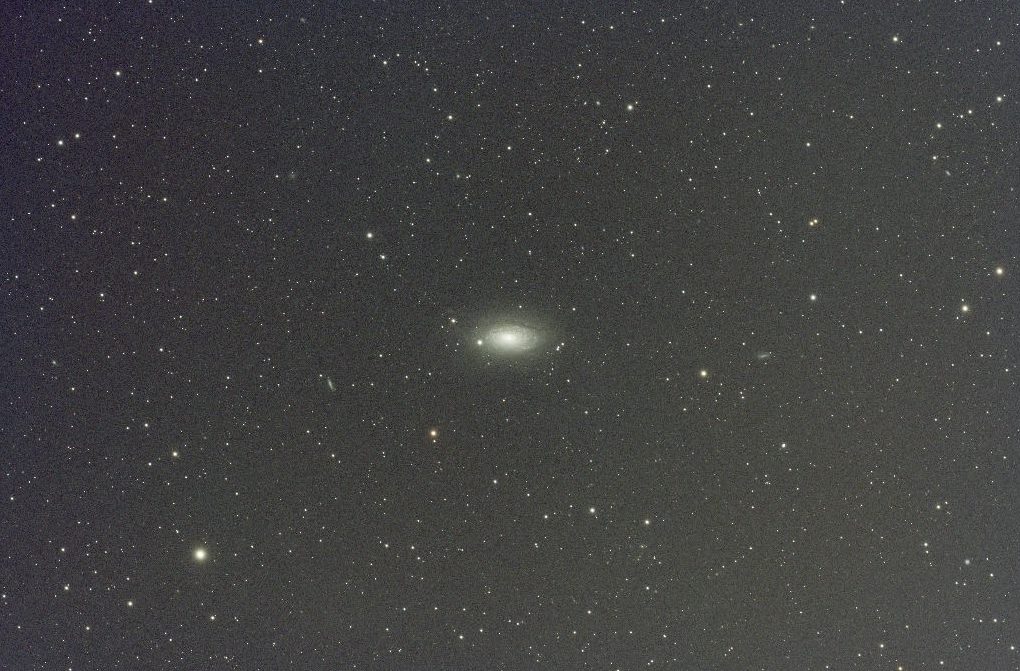
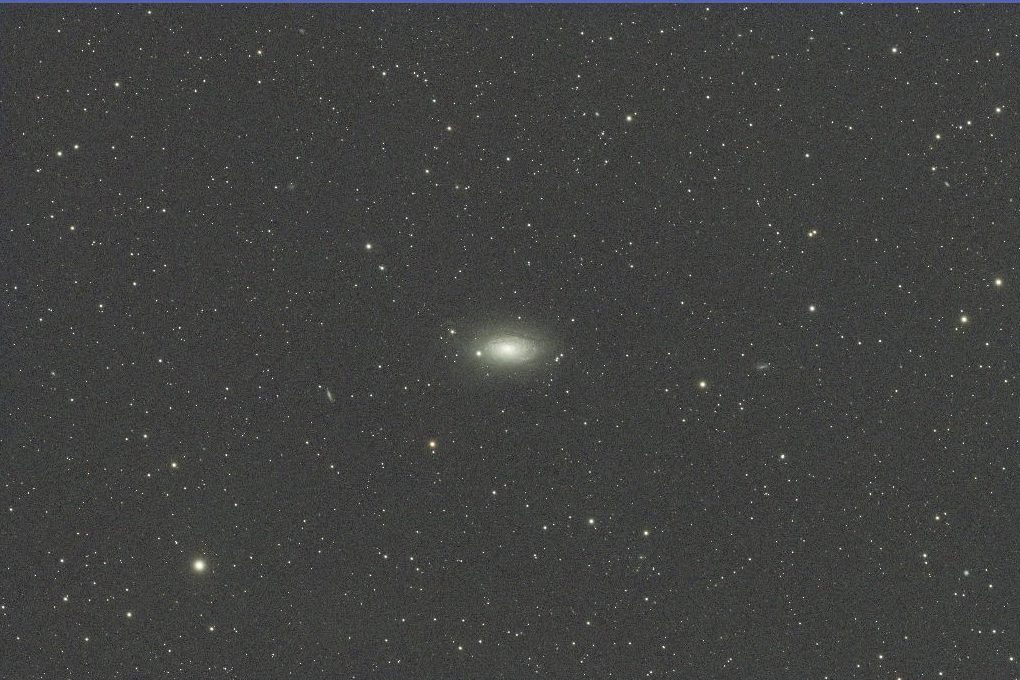
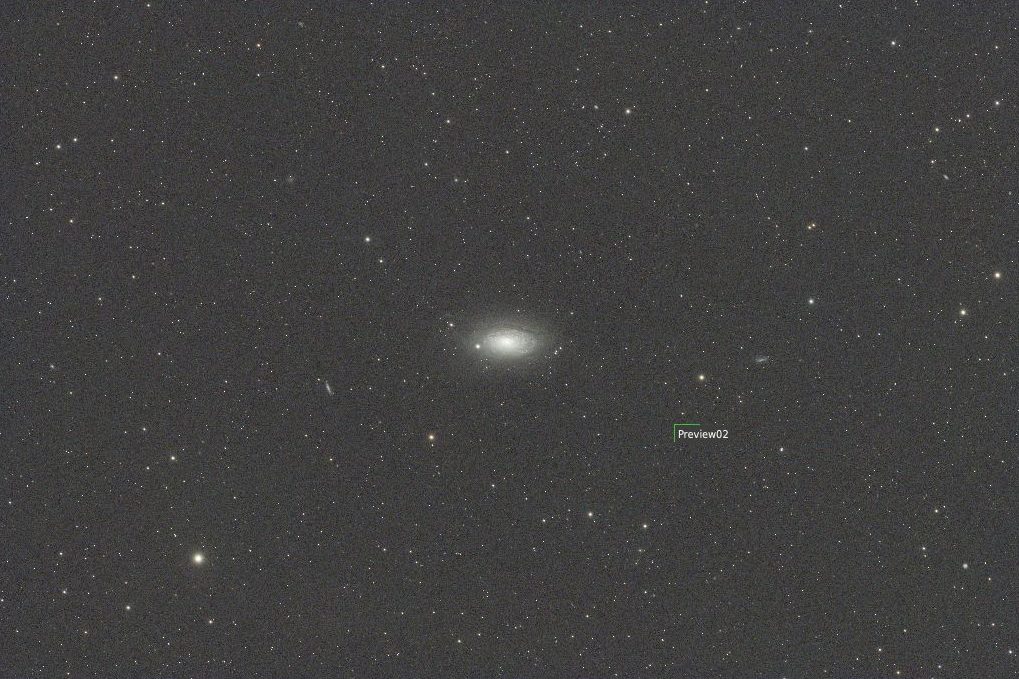
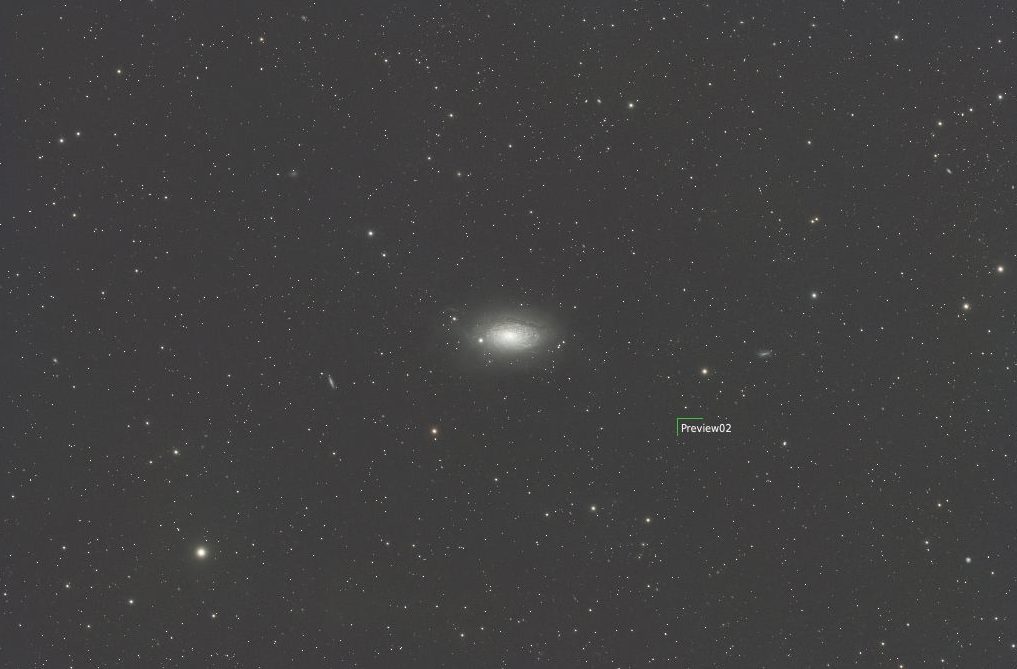
Before and after gradient removal.
SPCC (Spectrophotometric Color Calibration)
SPCC is a critical step and should be applied at this point, after gradient removal but before any further processing. It helps to create a small preview window over a part of the image that has a neutral background, preferably without stars if possible. This identifies the neutral background point for the algorithm, it isn’t mandatory, but it does help. After applying the color calibration, relink the channels and reapply the auto stretch.
Deconvolution (BlurXTerminator)
There are other ways to handle deconvolution, including PixInsight’s native tools, but I’m less familiar with them, and RC Astro’s BlurXTerminator is simple and works very well. I usually leave Sharpen Stars at the default value of 0.5 and keep Automatic PSF enabled, but I find that increasing Sharpen Nonstellar to around 0.9 noticeably improves the image. This is the first sharpening step, and it needs to be done while the image is still linear. Additional wavelet-based sharpening can be applied later, after stretching.
Noise Reduction
NoiseXTerminator is another simple machine-learning-based tool from RC-Astro that does a good job. I like to be a little more cautious with this one because, in my experience, it can be overdone pretty easily. At this stage I usually set it to 3 iterations at 0.85 strength and apply it.
Star Removal
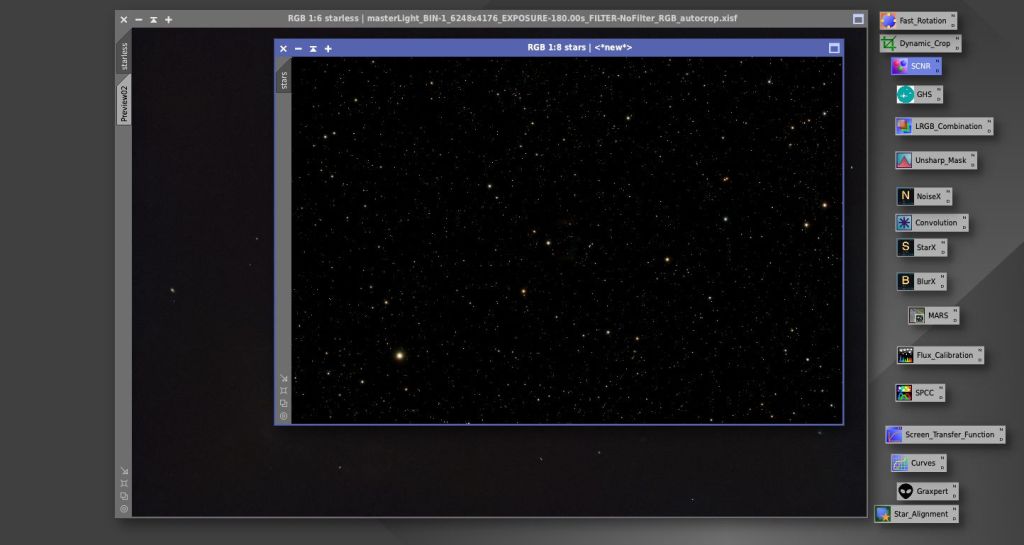
Although it is not strictly necessary, and probably not as scientifically accurate, separating and stretching the stars independently makes it much easier to create a visually appealing final image. StarXTerminator works great for this task. I check both Generate Star Image and Unscreen Stars, and then run the process.
Multiscale Adaptive Stretch (MAS)
At this point, the Screen Transfer Function auto stretch should be removed, and it is time to stretch the image. The MAS tool is designed so that it can be used in a single step; however, I find that two or three smaller passes usually work better. You should use the same background reference preview window from the SPCC step here as well.
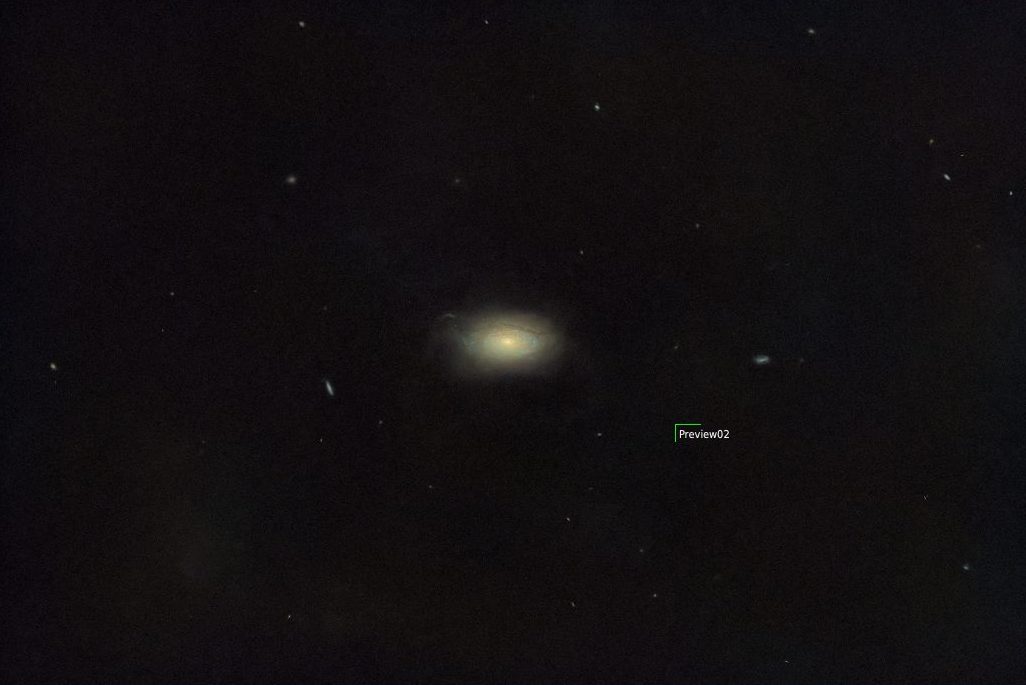
Personally, I usually bring the background stretch value down to about 0.05–0.06 and set the color saturation to 0.9 with a boost of 0.5. I will often also apply Selective Channel Noise Reduction (SCNR) at about 0.6 on the green channel at this stage.
Curves
Usually, the MAS step gets the image very close to the final result, but it is still worthwhile to do some last fine-tuning with Curves. At this stage I typically make small adjustments to contrast, saturation, and overall balance rather than trying to make major changes.
MultiscaleMedianTransform (MMT)
MMT is another sharpening method designed to minimize ringing artifacts. It works by decomposing the image into scale layers and then applying sharpening selectively to those layers. The first layer is the single-pixel layer, so there is usually little value in sharpening at that level. I leave the default setting on dyadic, but I usually increase the number of layers to five. Then I start at level 2 and set the bias adjustment to 0.20, dropping each successive layer by 0.05 and stopping at level 5 at 0.05. There is no hard rule here—these are simply values that tend to work well for me, and others have had success with different strategies.
Further Noise Reduction
At this point I apply NoiseXTerminator again, but less aggressively than before—usually at a strength of 0.5–0.65 with two passes. For me, this second pass is mostly about cleaning up residual noise introduced or revealed during stretching and sharpening.
Star Stretch
At this point I use HistogramTransformation to stretch the stars image. I also apply a Curves transformation at similar levels to the starless image so the two components remain visually balanced before recombination.
Dark Structure Enhance (Optional)
I definitely don’t do this on every galaxy, but on ones with clear dust lanes, this can help them pop. It’s very easy to over cook this tool, I usually start with an amount of .25.
Recombination
The most straightforward way to recombine the images is to use PixelMath with the screen operation: combine(starlessimagename,starsimagename,op_screen())
TGVDenoise
For the final denoising step, I first apply an inverted luminance mask to the image and then run TGVDenoise, generally with the default settings. At this stage I’m mainly looking to soften any remaining fine-grained noise without noticeably affecting detail.
References
Example galaxy workflow by Ron Brecher: https://astrodoc.ca/leo-trio/

